Article
Budget-Friendly DIY Projector for Cookie Decorating
I'm so excited to share with you a simple and budget-friendly DIY solution that will take your cookie decorating skills to the next level: a homemade projector! With this simple method, you can effortlessly project designs onto your cookies without breaking the bank. Let's enhance your baking game together!
What you need
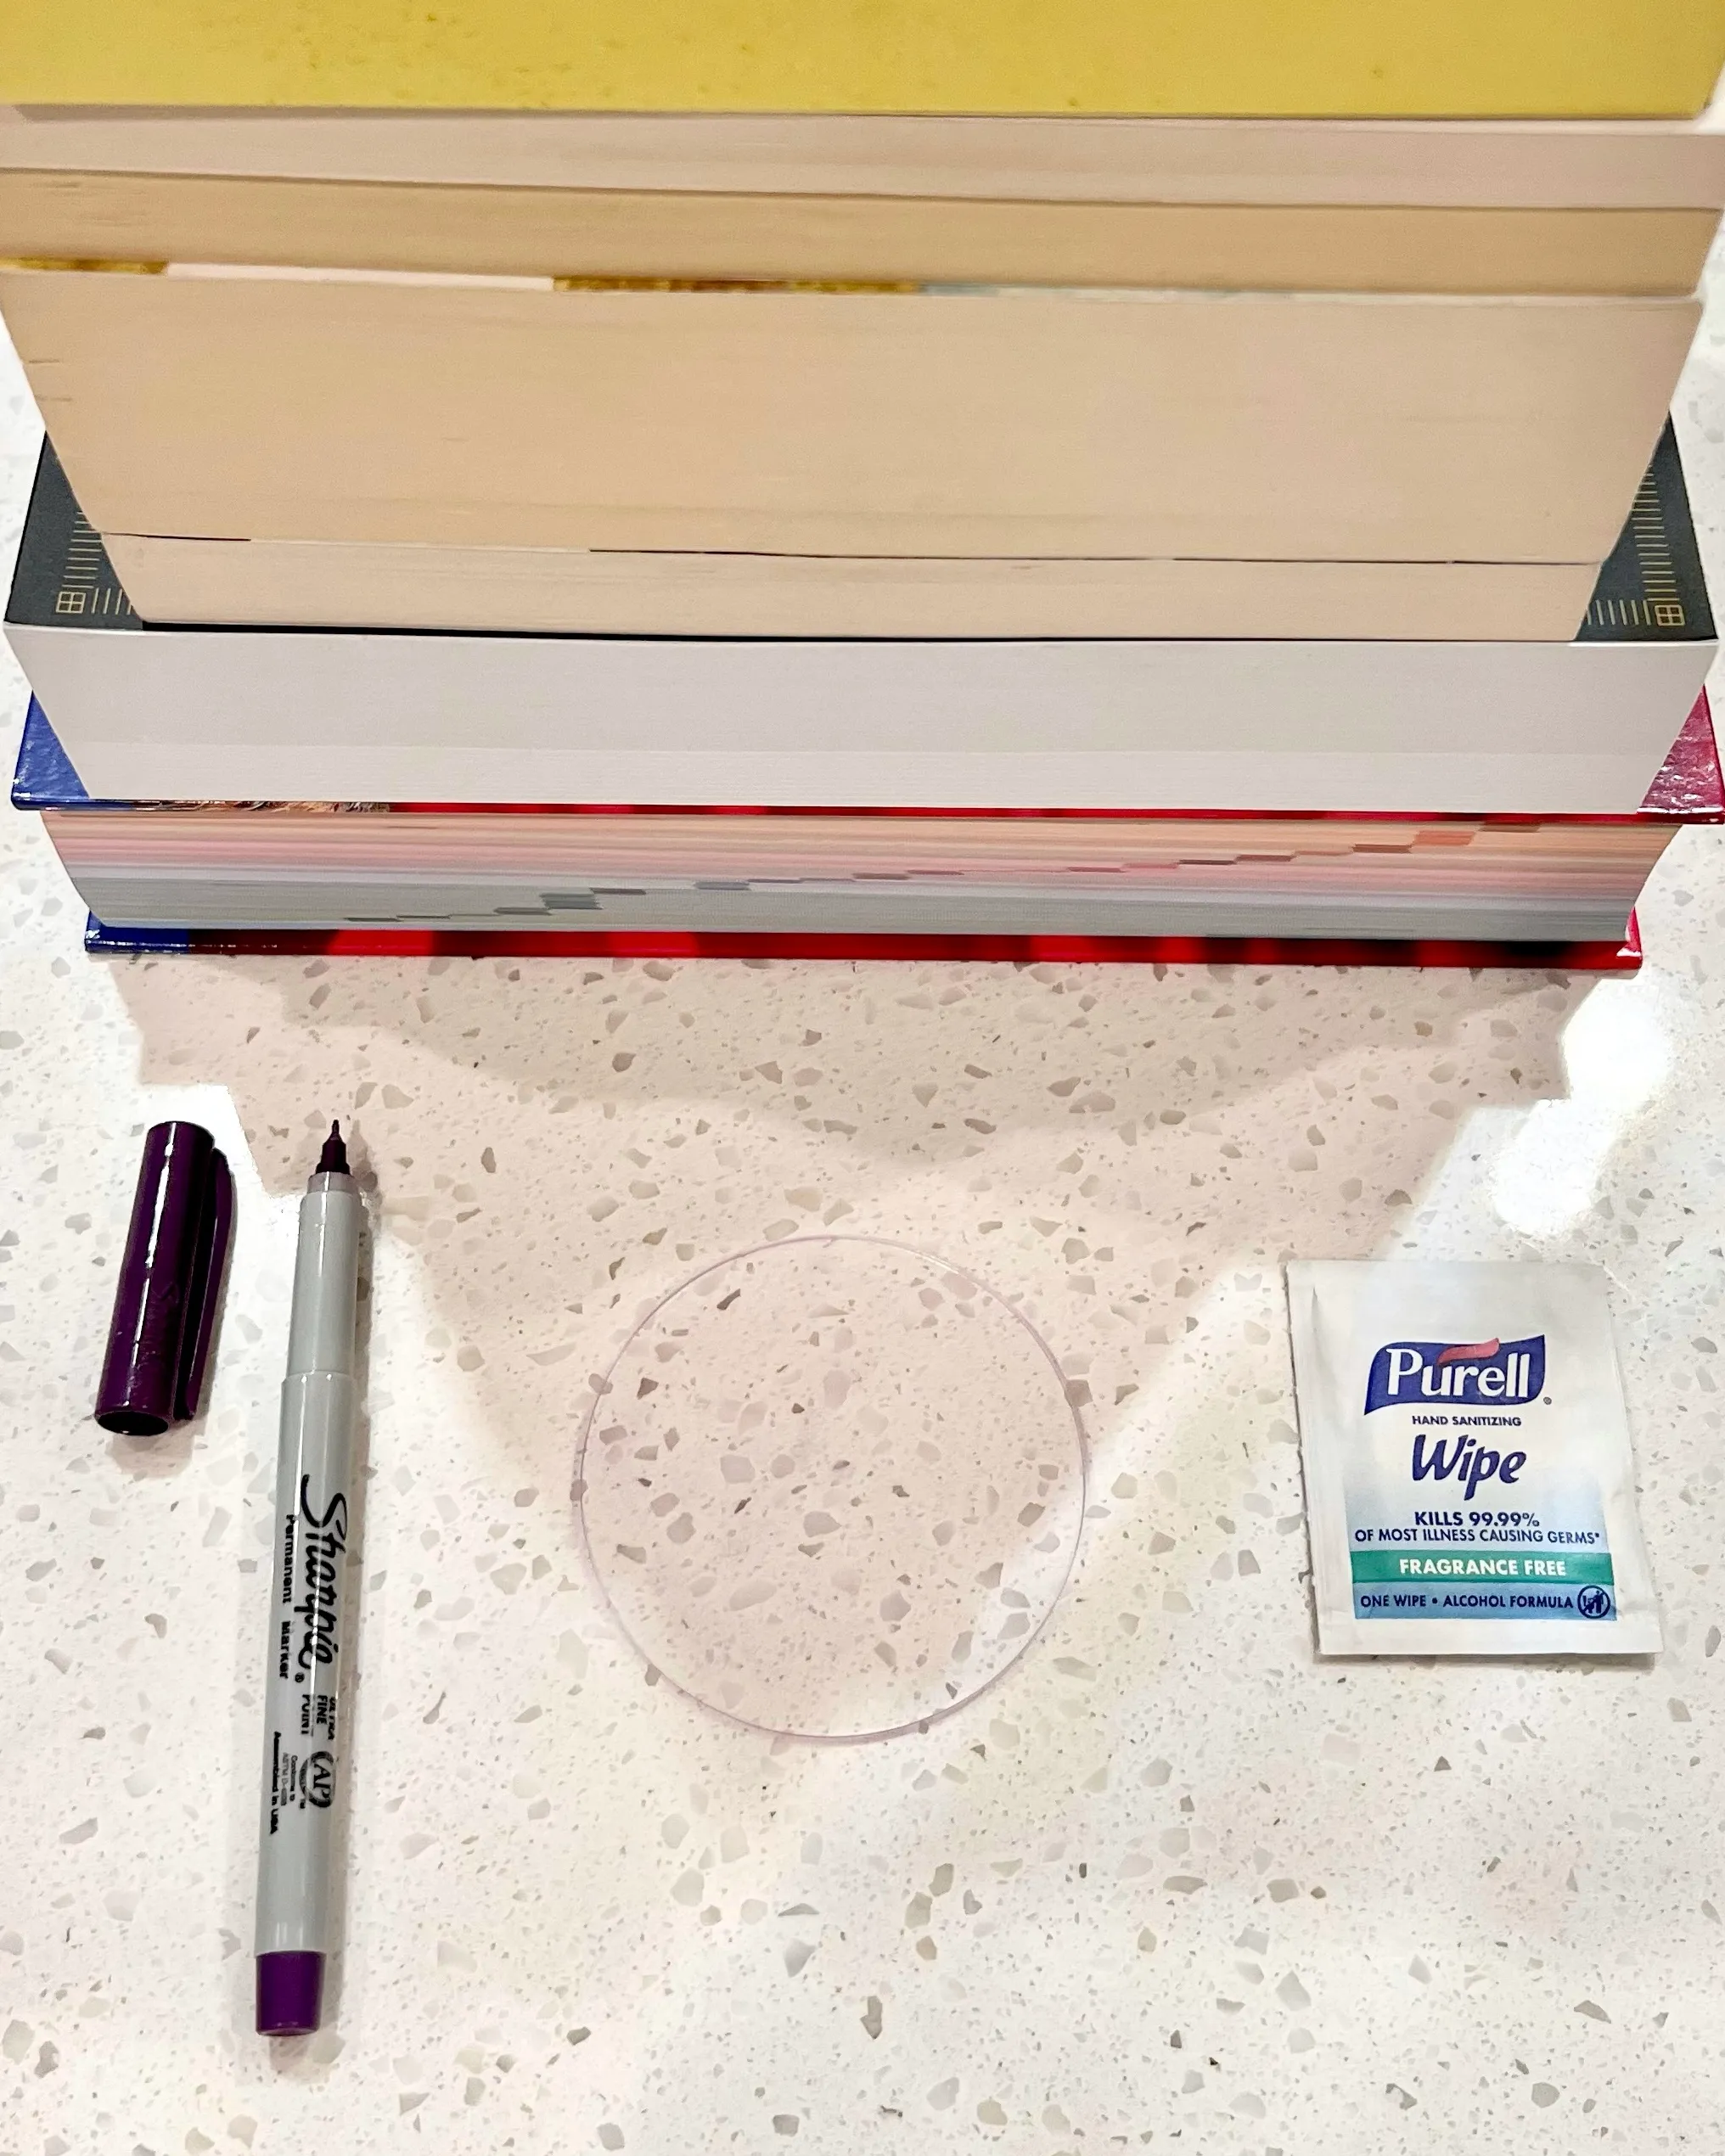
These are the things you need:
- Phone
- Acrylic circle
- Stack of books around 9 to 10 inches tall
- Sharpie
- Alcohol wipe
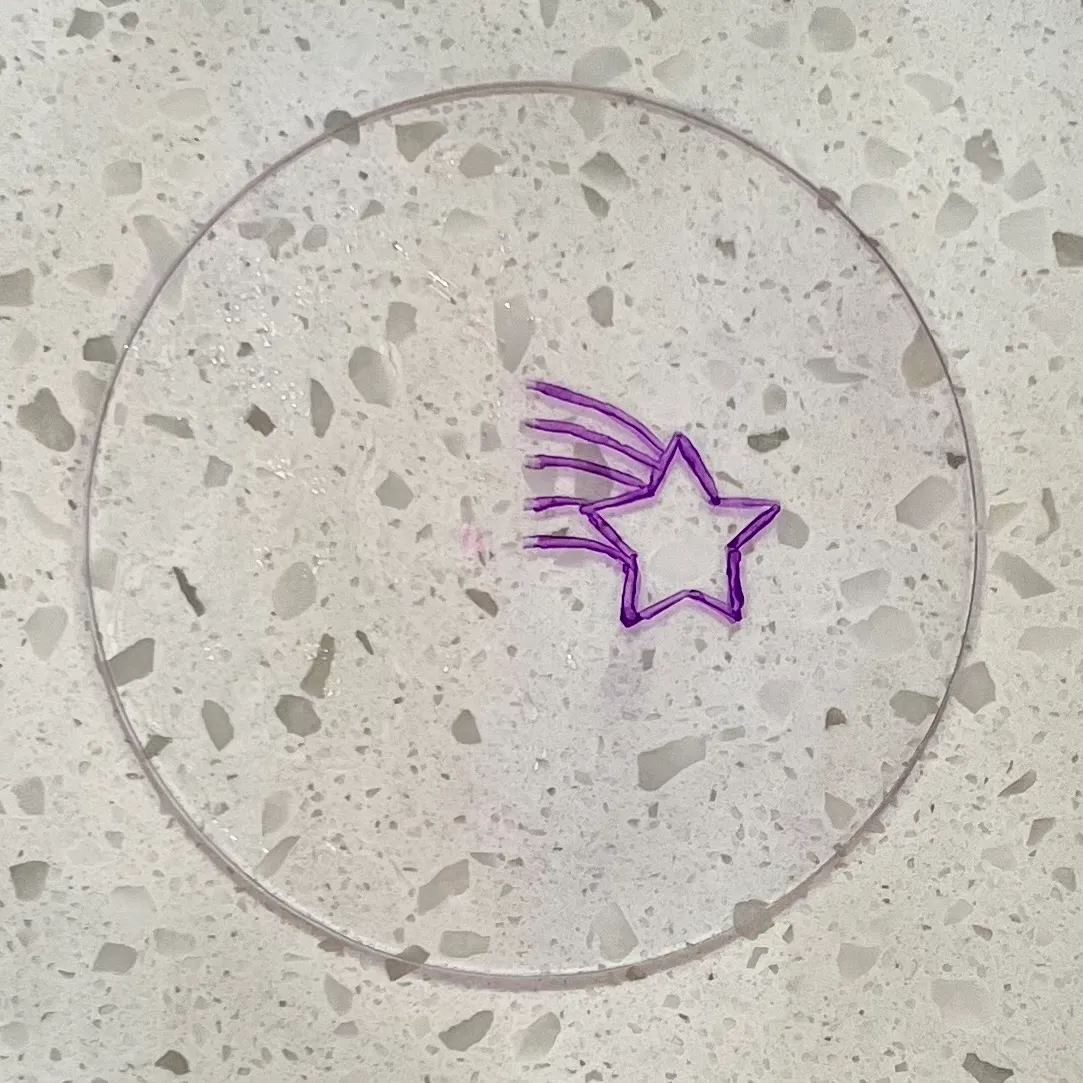
Step 1: Trace the image onto the acrylic circle
Open the image you want to project on your phone, place the acrylic circle on top of the phone screen, and trace the design with the Sharpie.
I recommend opening the image in an app that lets you resize it because for better results when projecting, the image shouldn't be too large. It may take some trial and error, so it's a good idea to use a simple design as a test first.
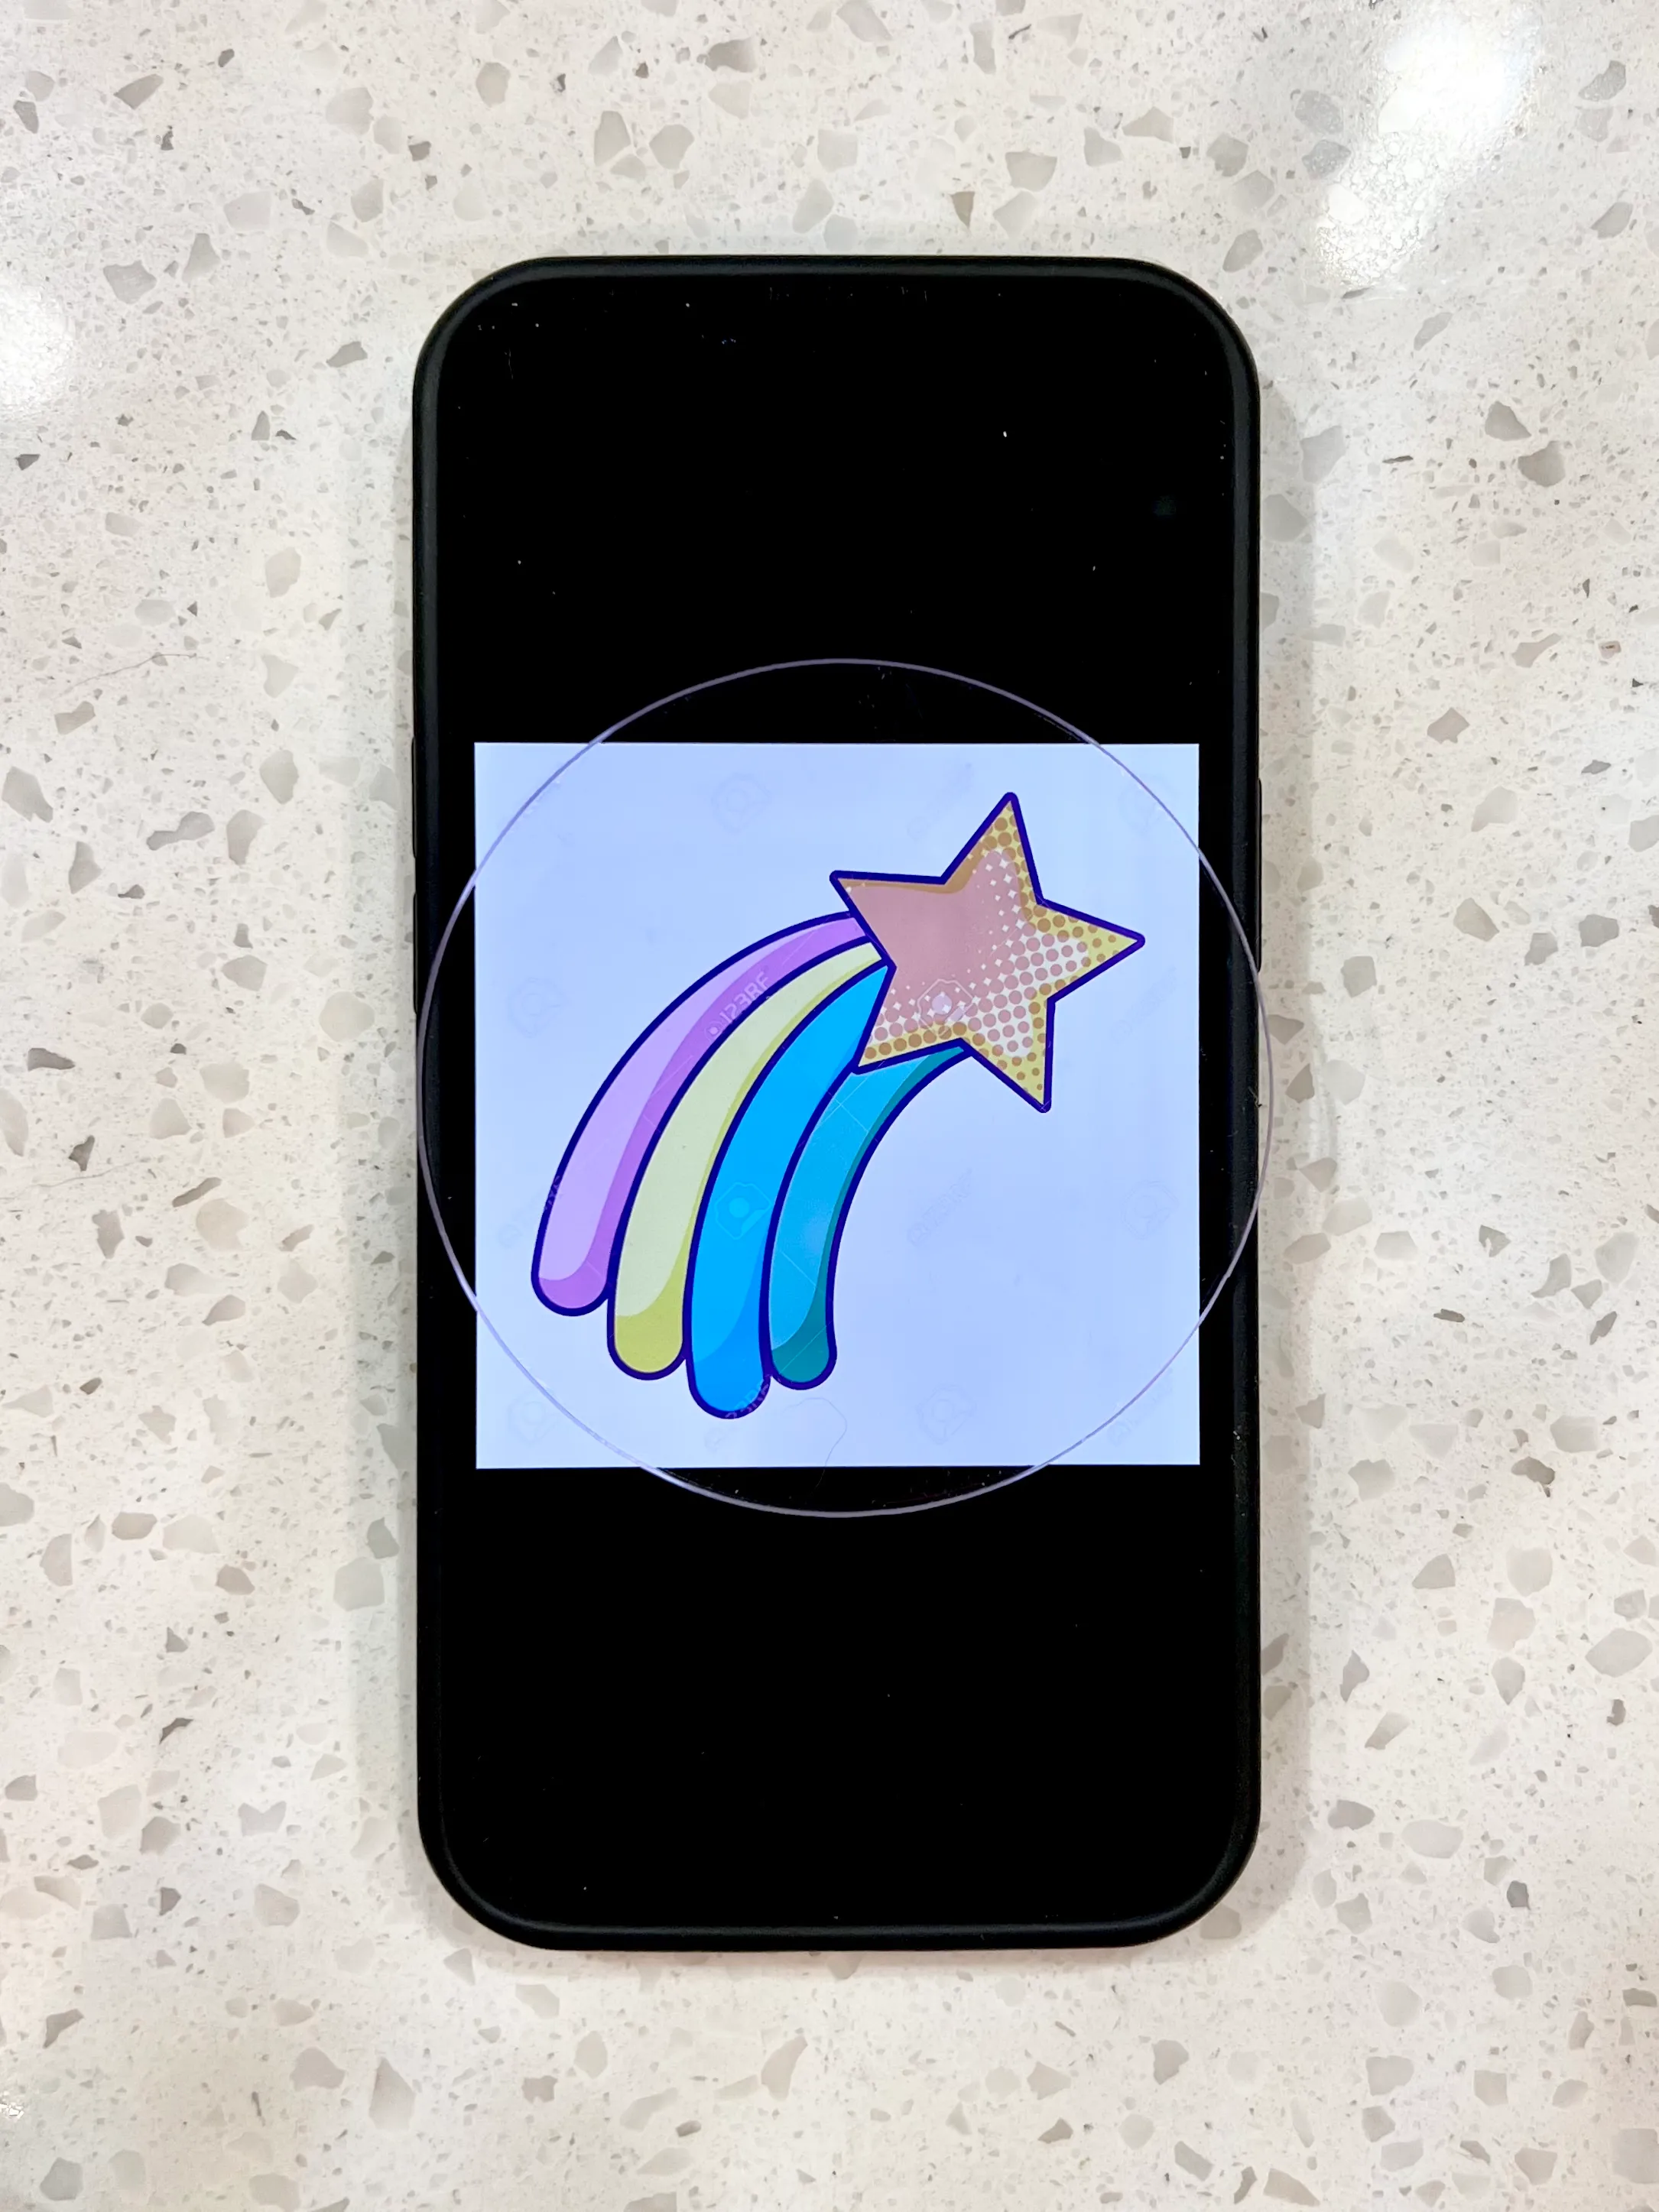
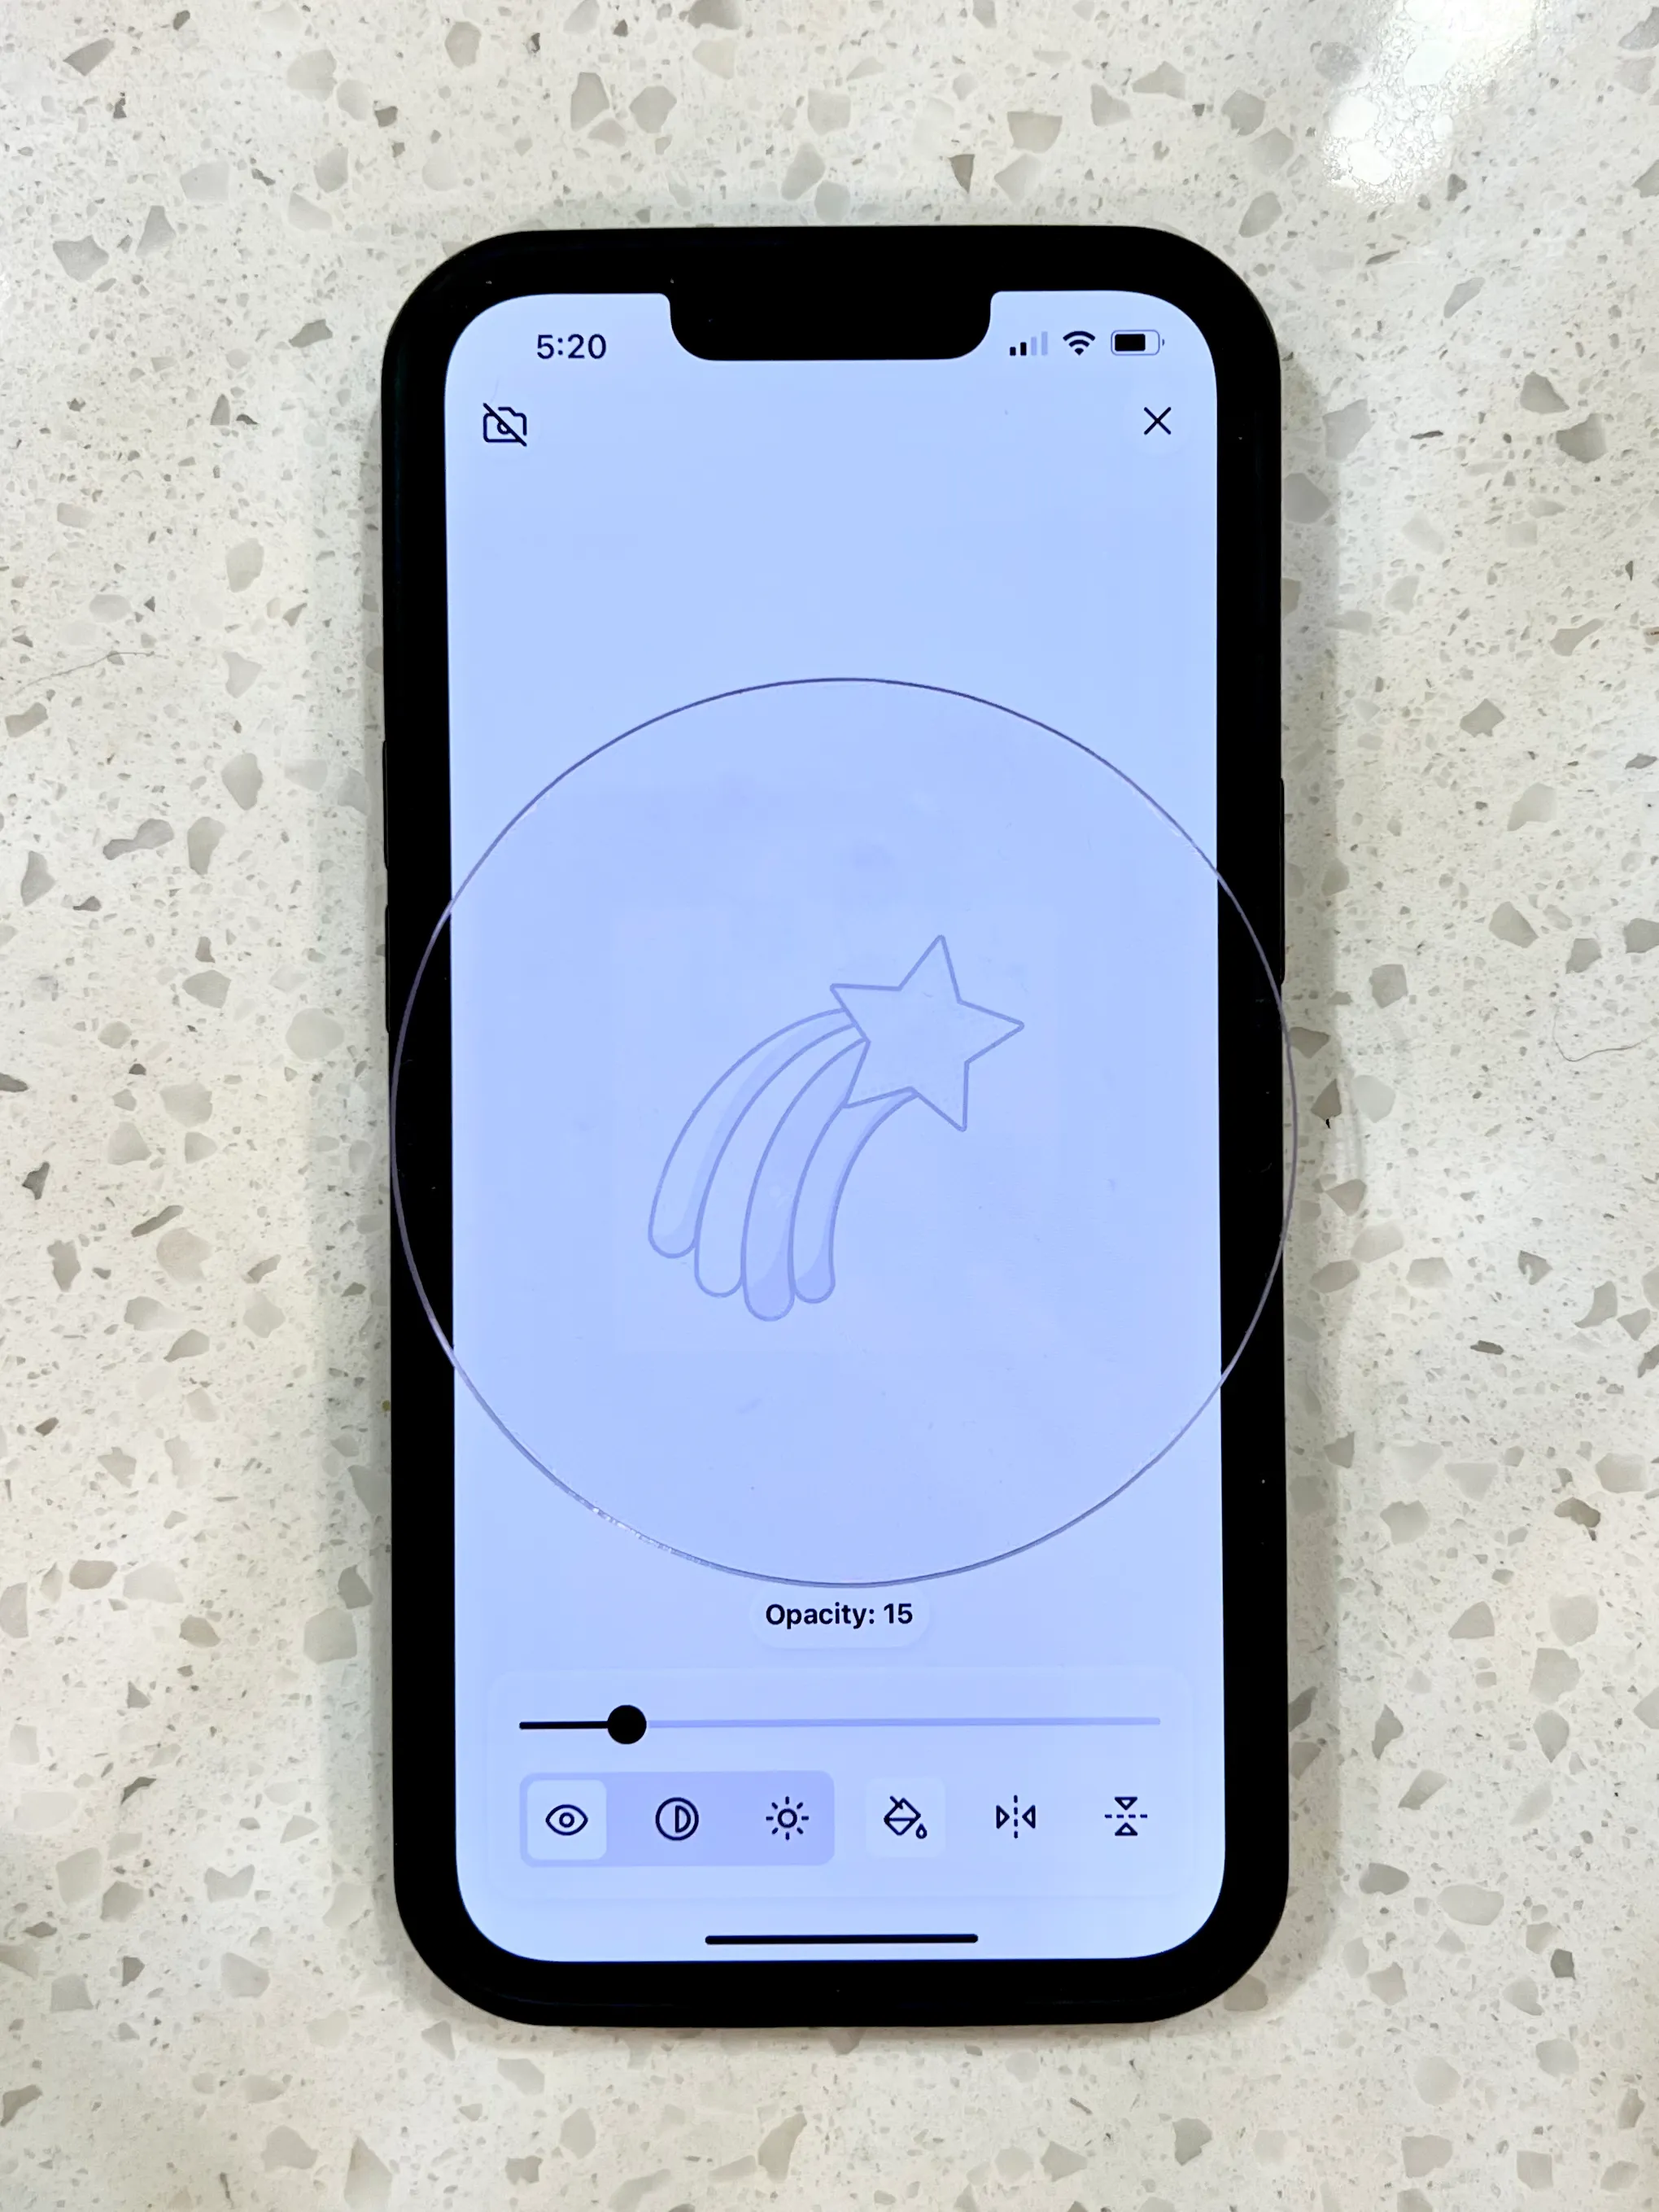
Left: image opened in a photo album. Right: image opened in Flowly where it can be resized and the opacity lowered.
I used Flowly instead of the regular photo album because it lets me change the size, contrast, and opacity, which makes the Sharpie lines easier to see while tracing.
Flowly is currently on iOS, but similar apps exist for Android too. The app is free to download and includes free fonts for tracing. If you want to use your own images or fonts, you would need the Pro version.
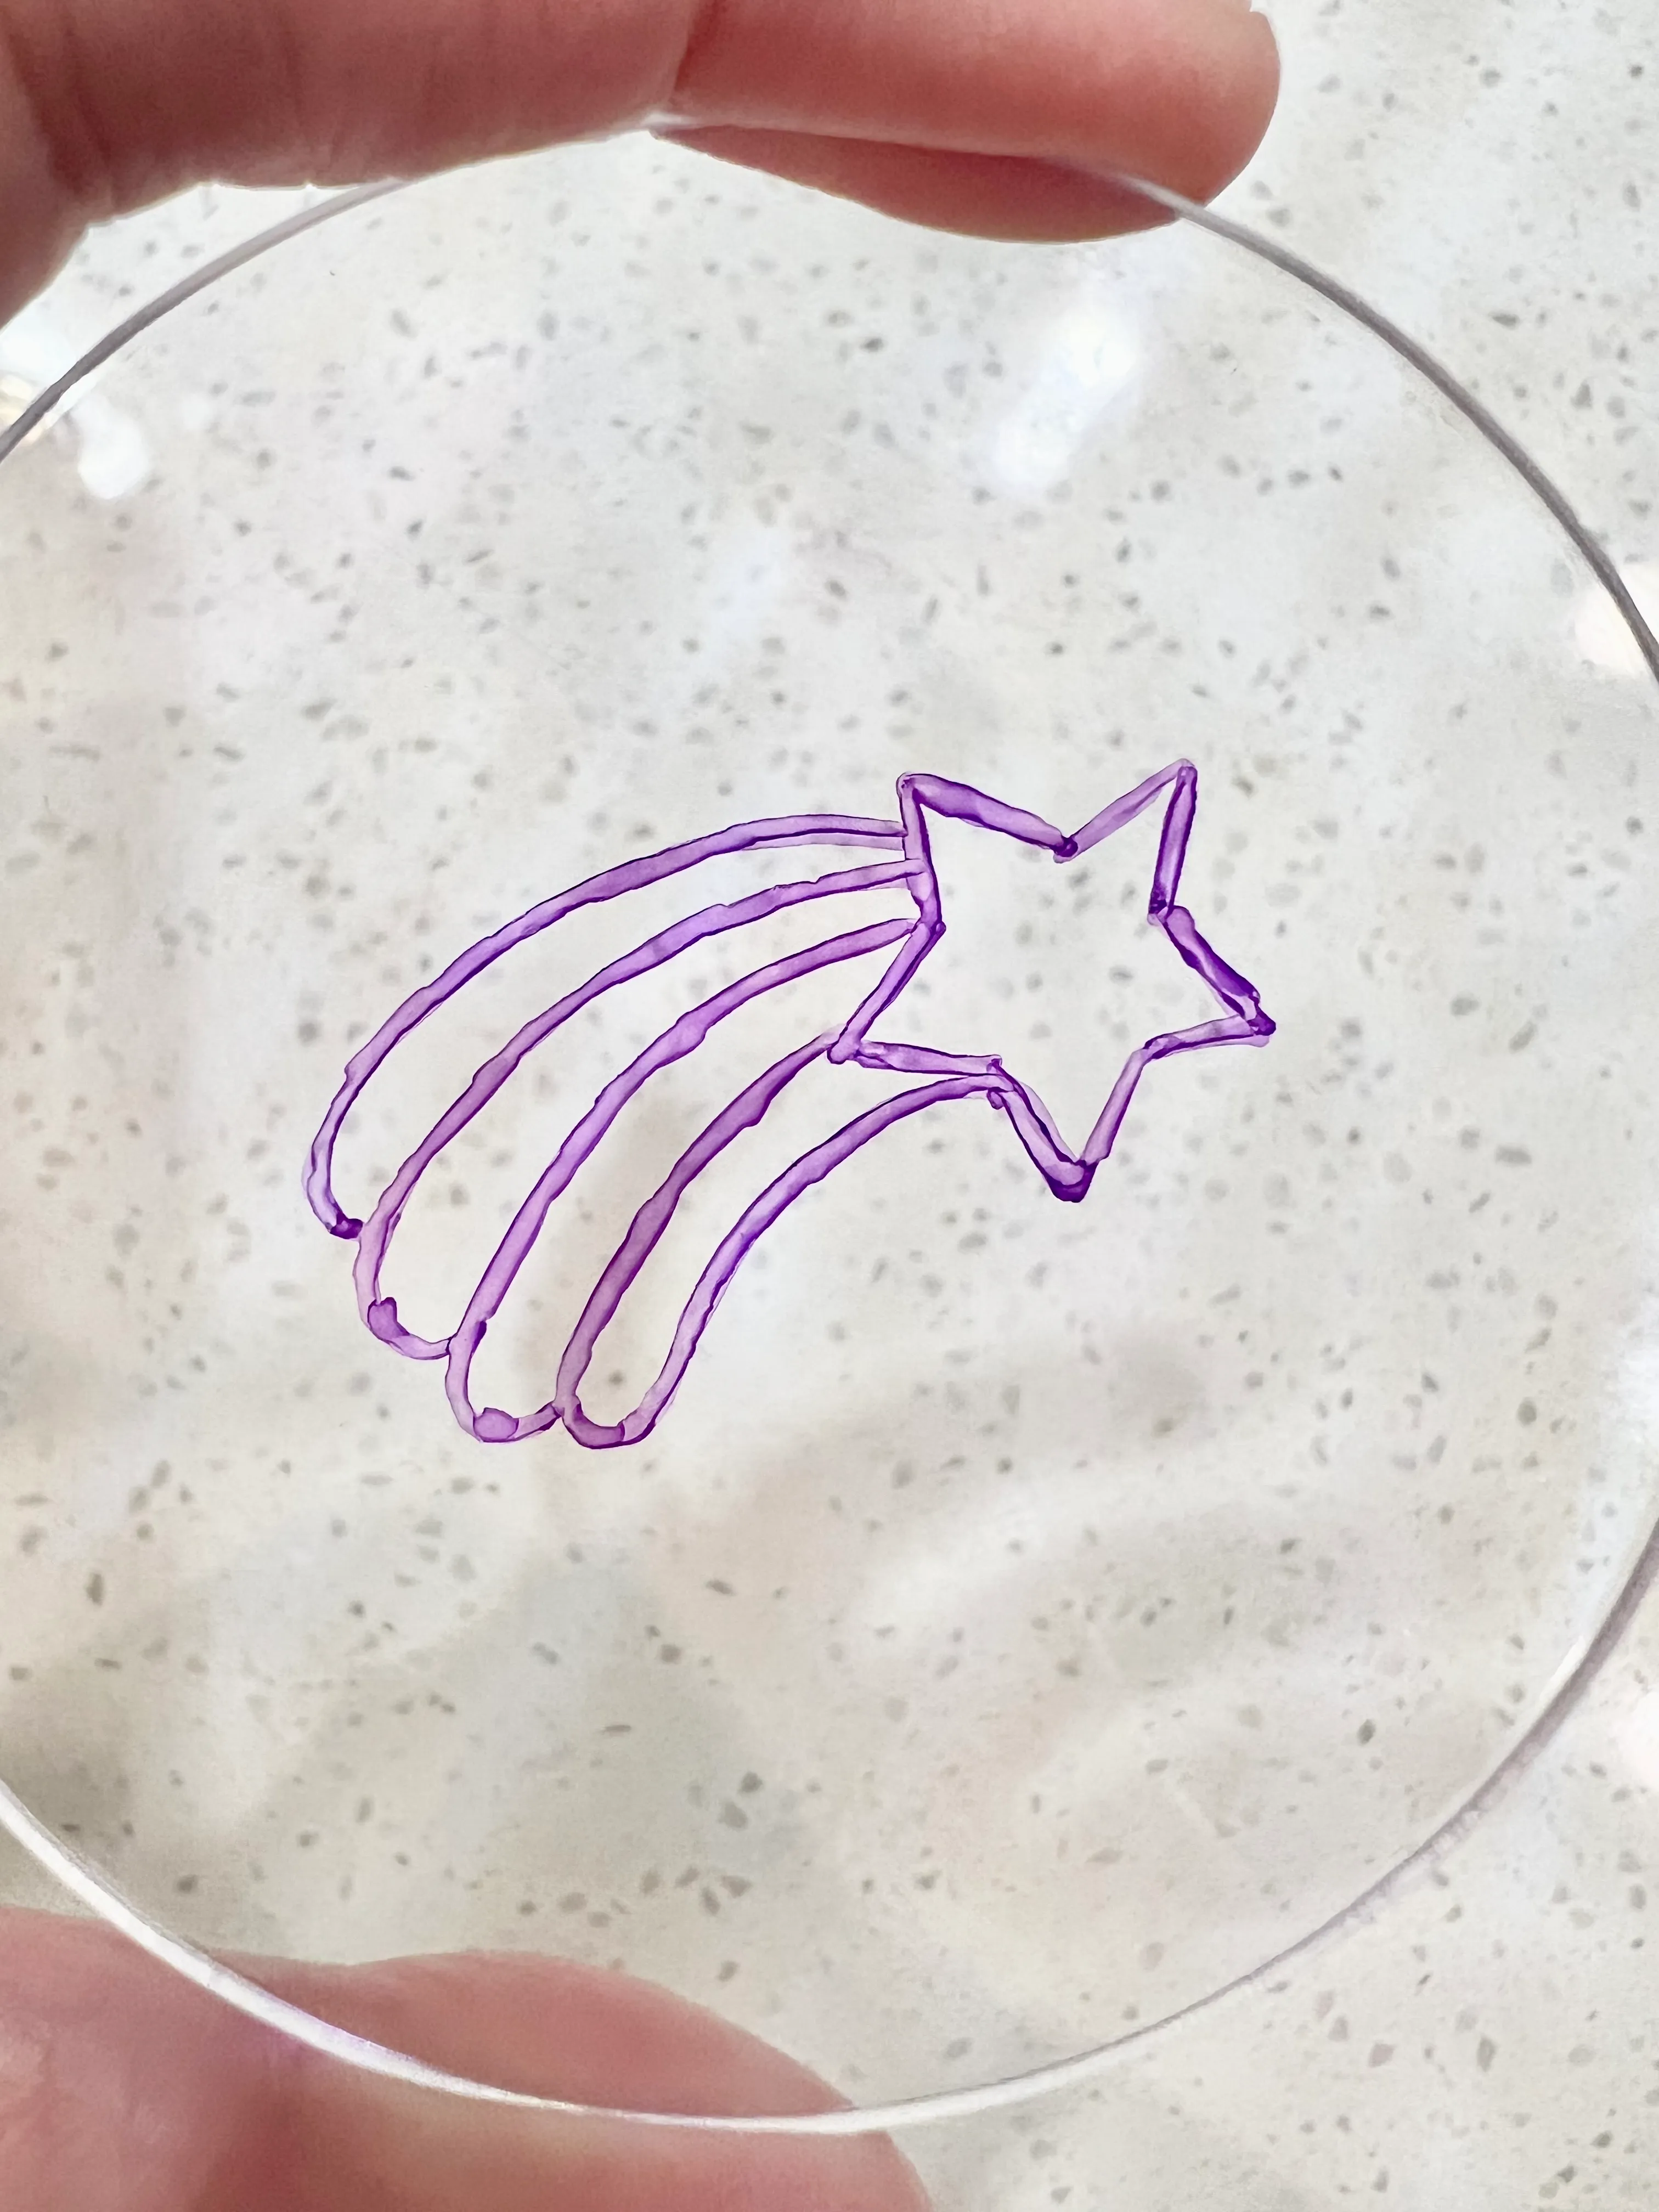
Step 2: Re-trace the outlines to make the image more clear
After tracing the design once, go over the outlines again so the projected image appears darker and easier to follow.
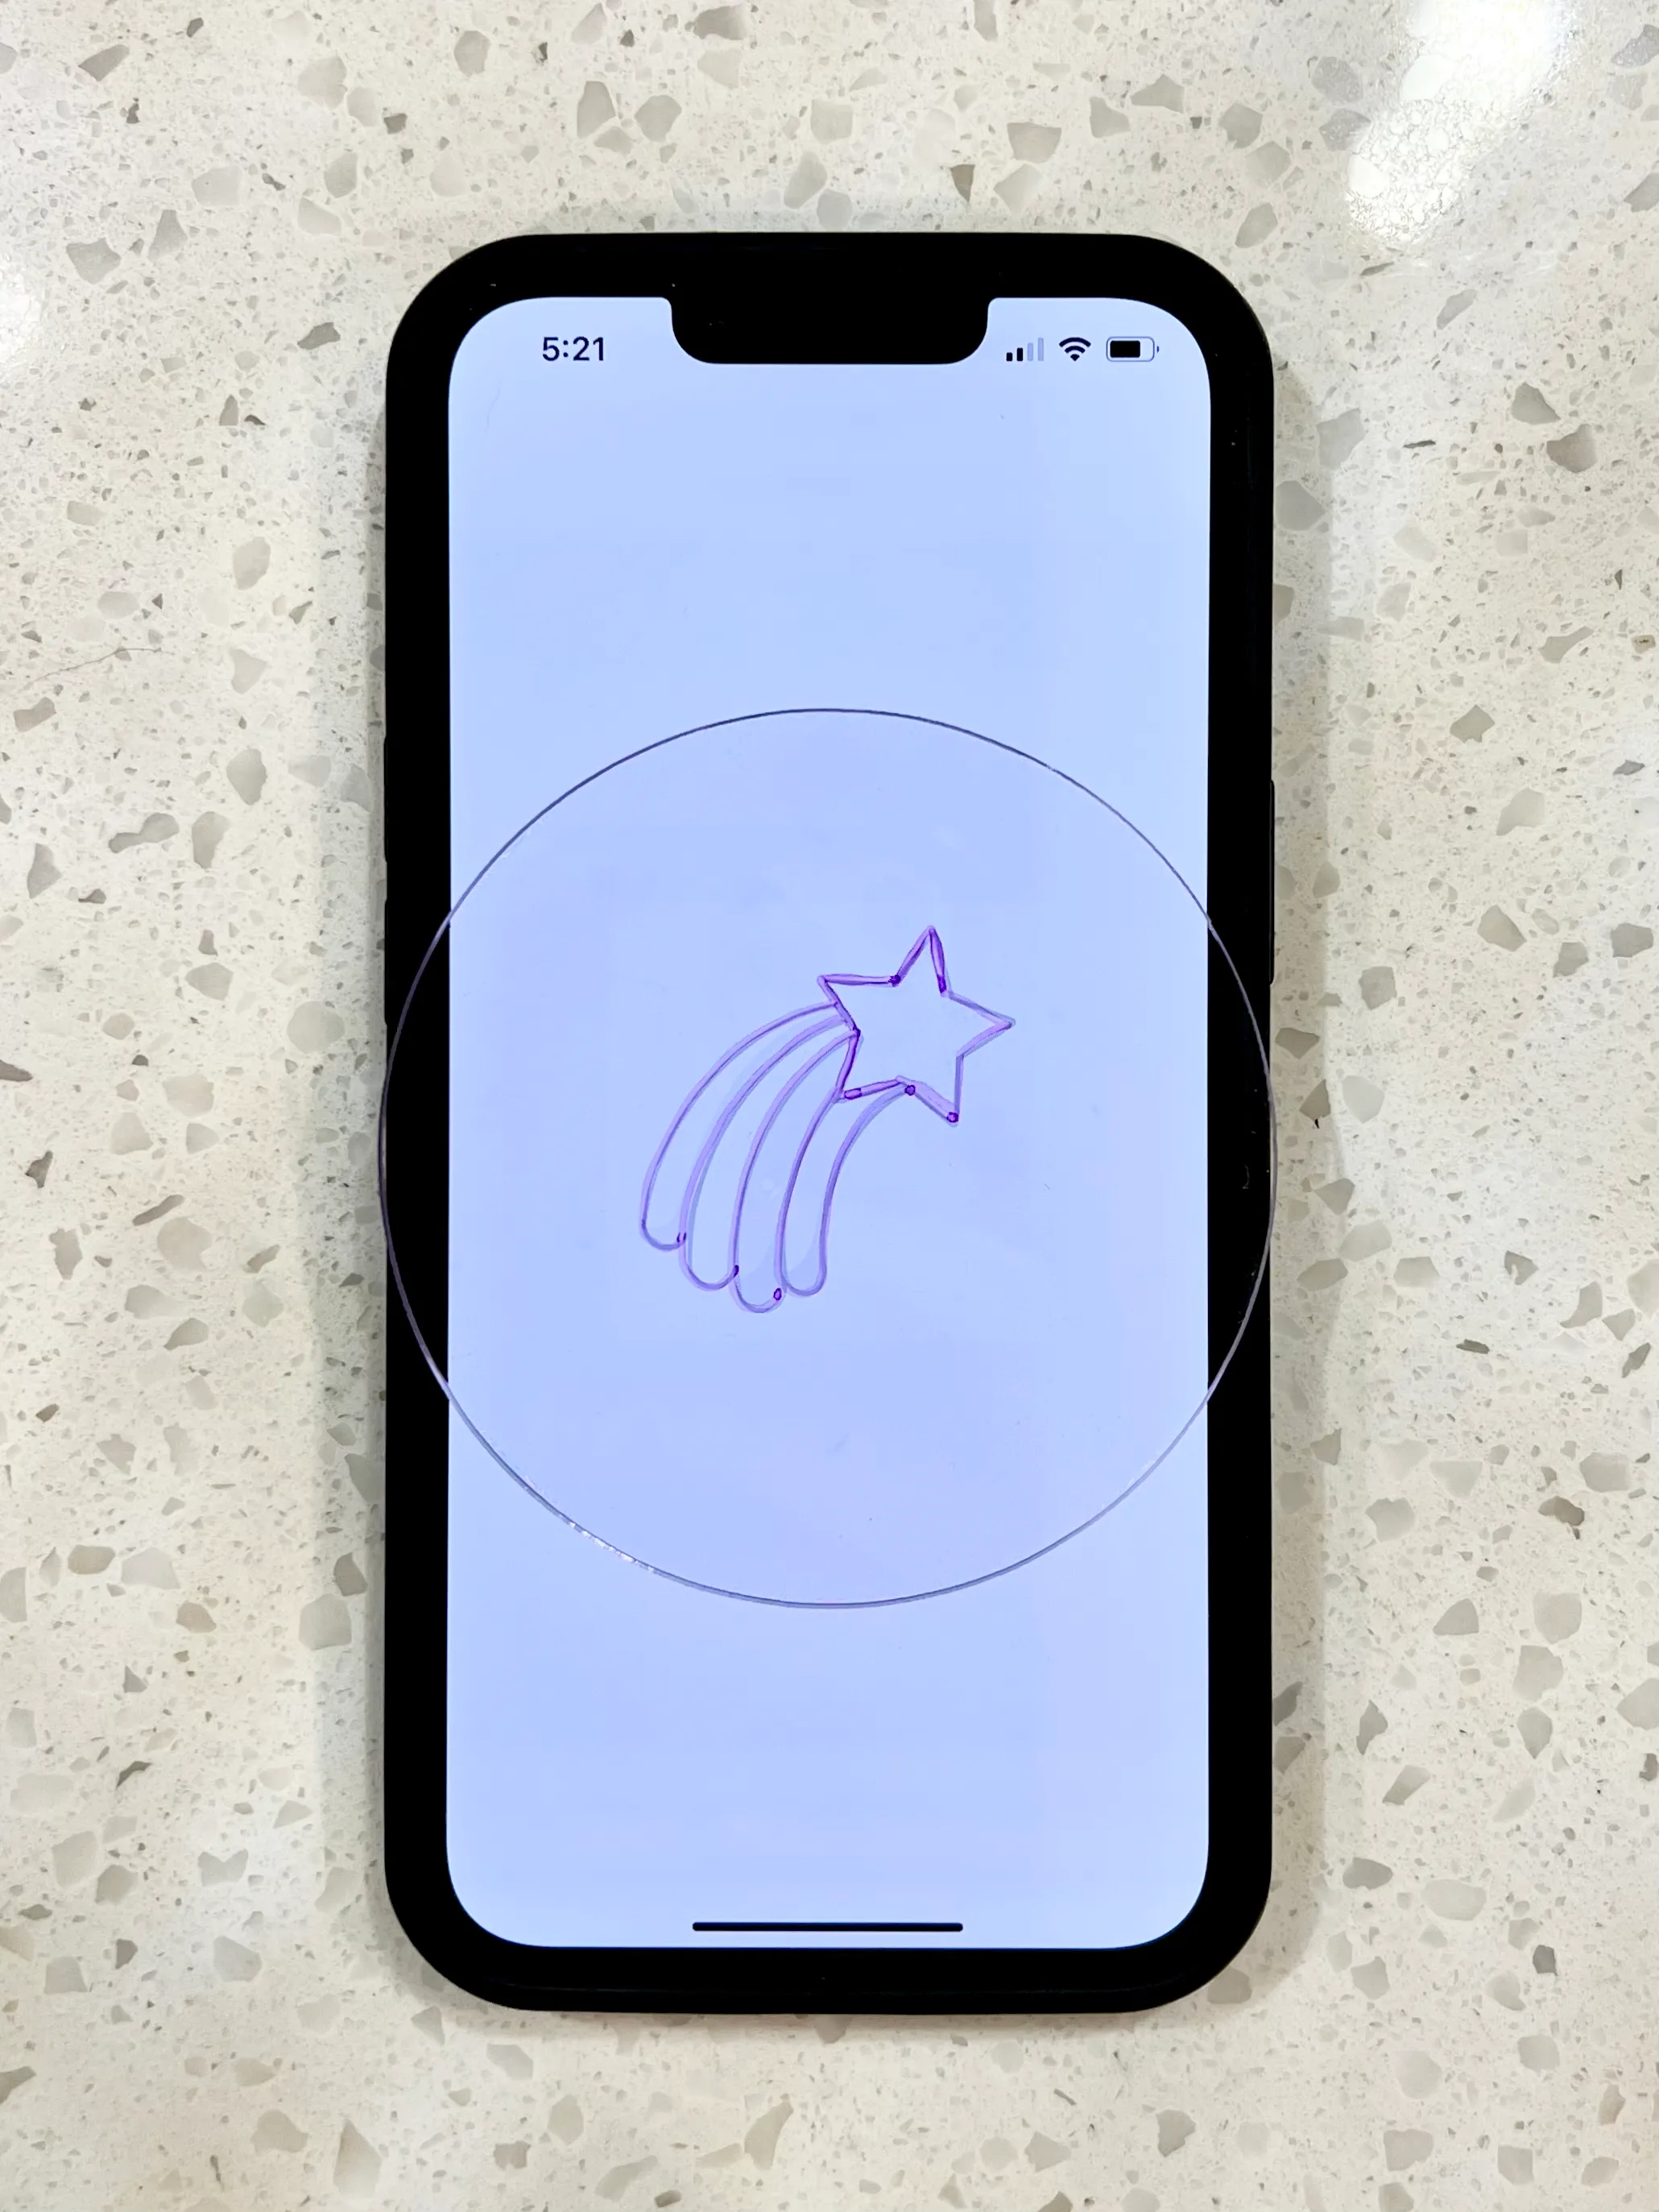
Left: traced once. Right: traced again to make the projection more clear.
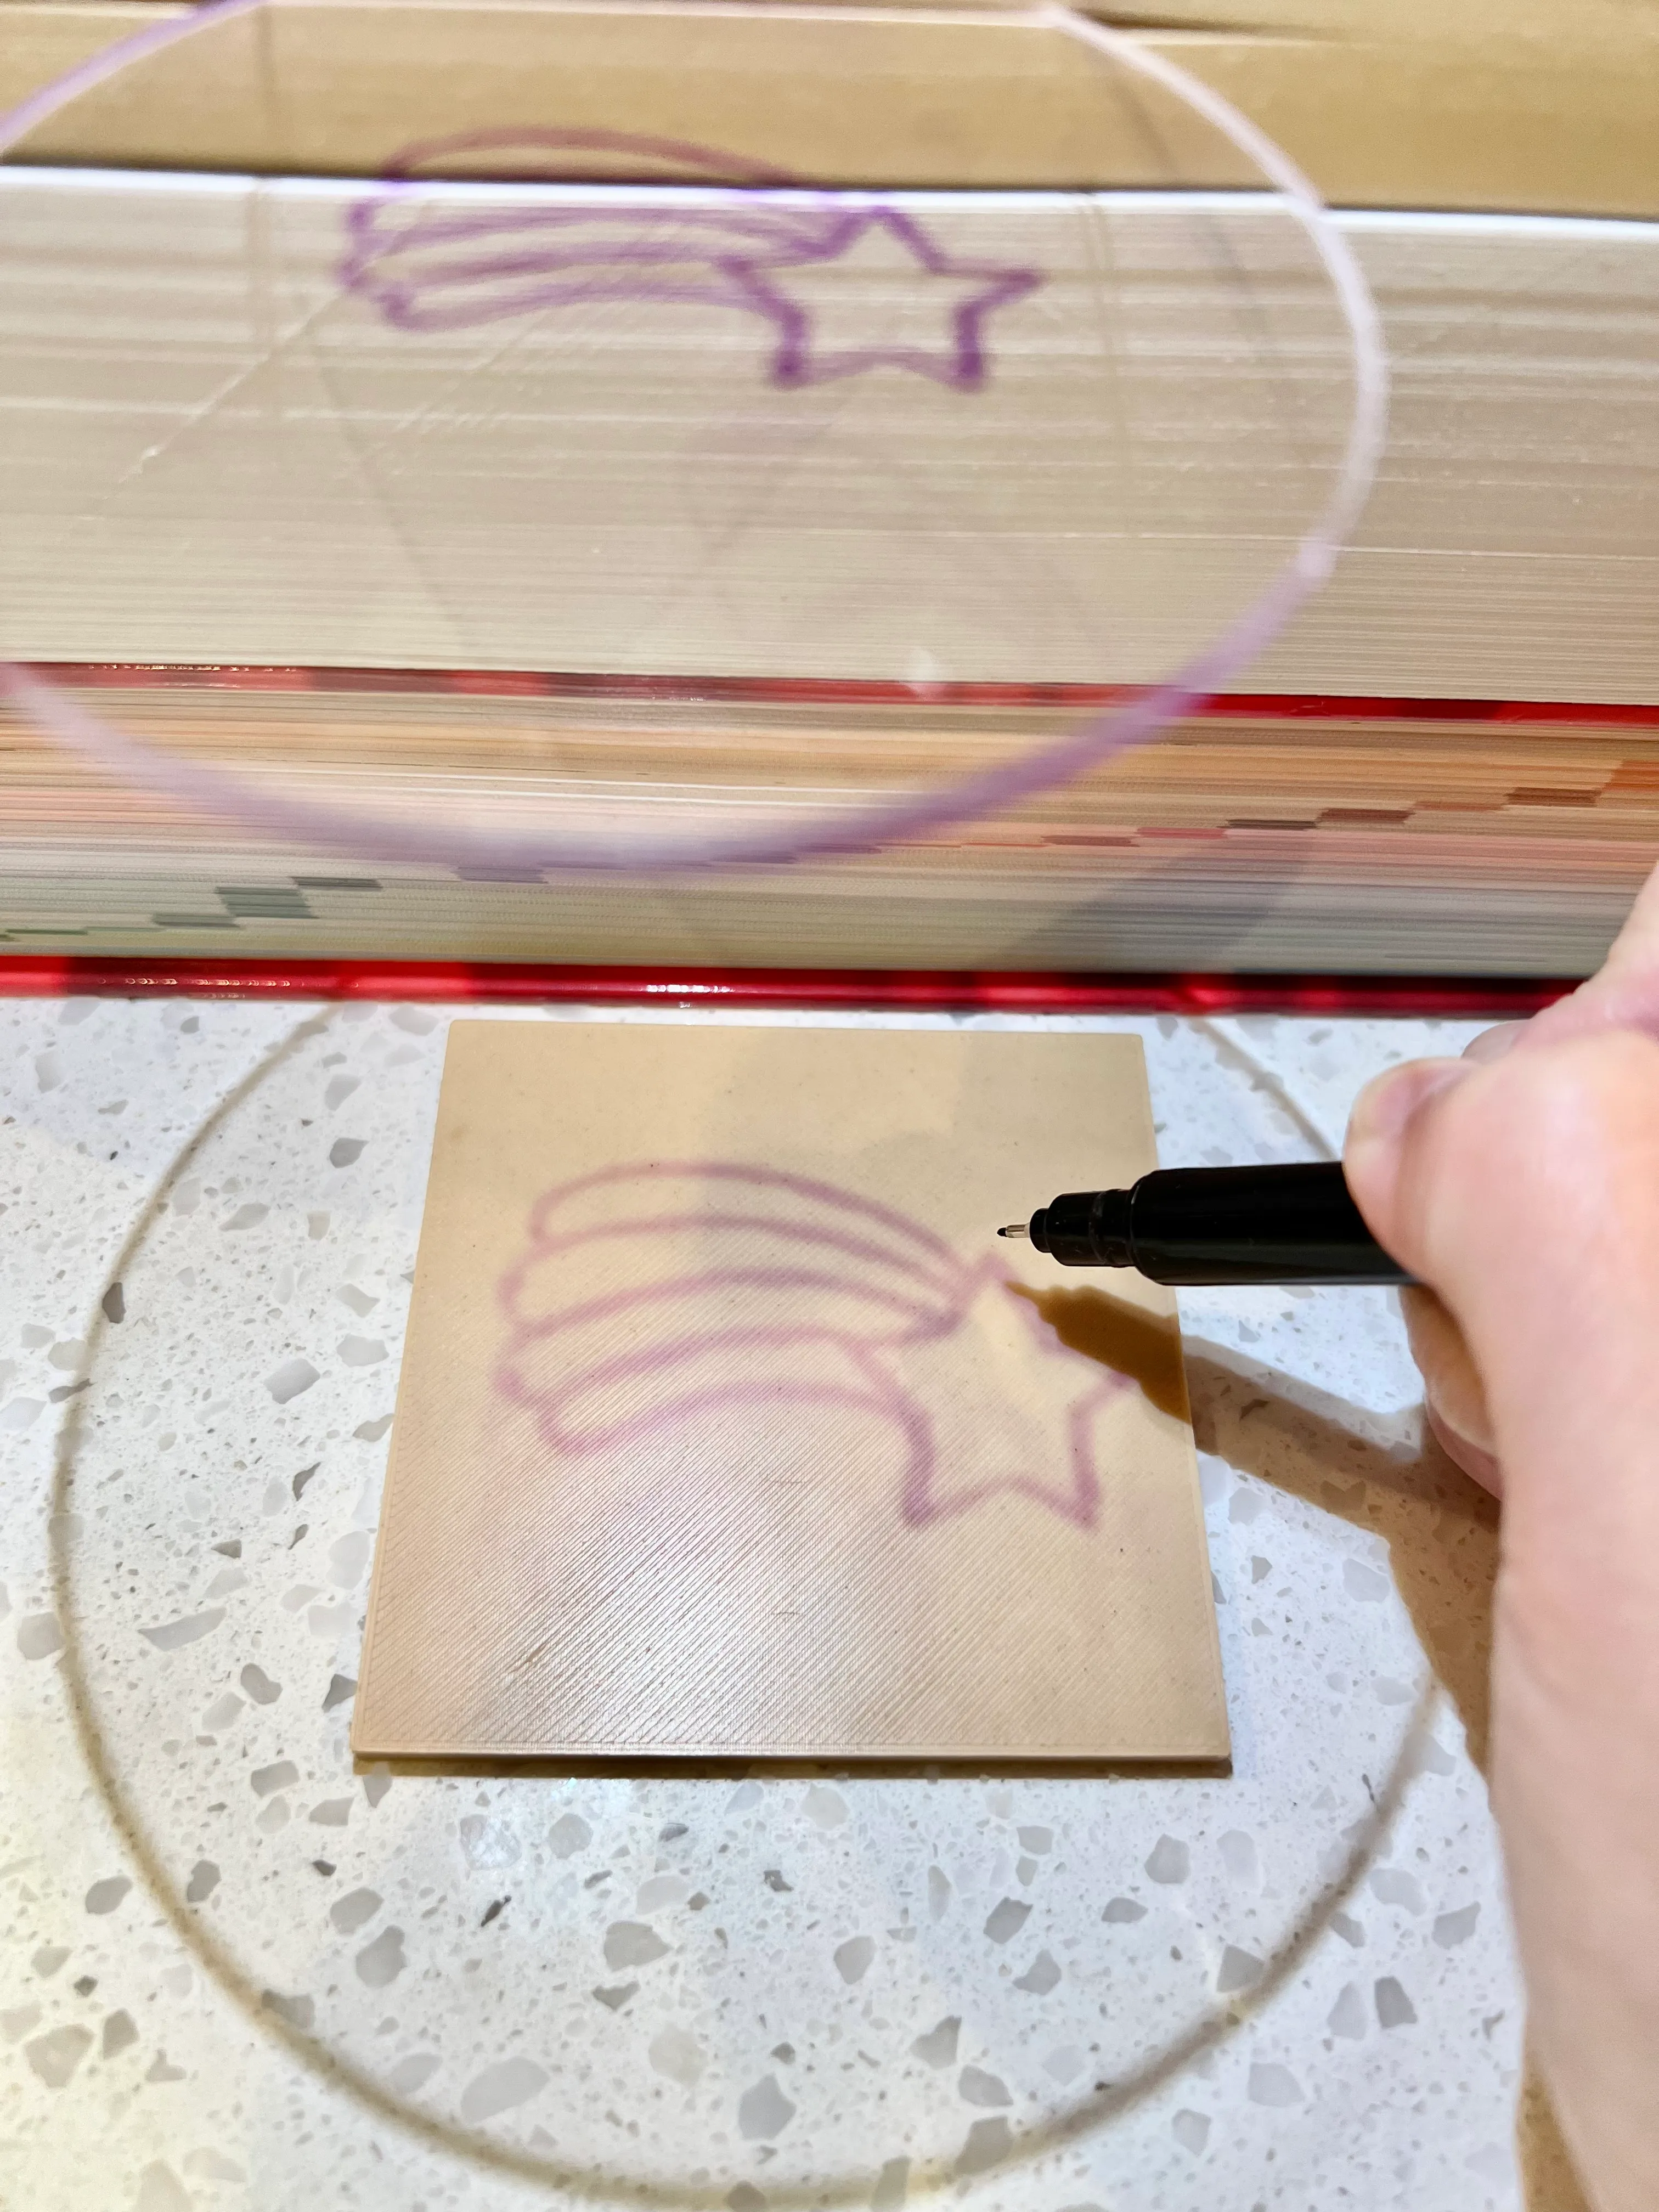
Step 3: The fun part
Turn on the torch on your phone and set it on top of the stack of books. My books are about 9.5 inches tall, but you may need the height slightly higher or lower depending on your setup.
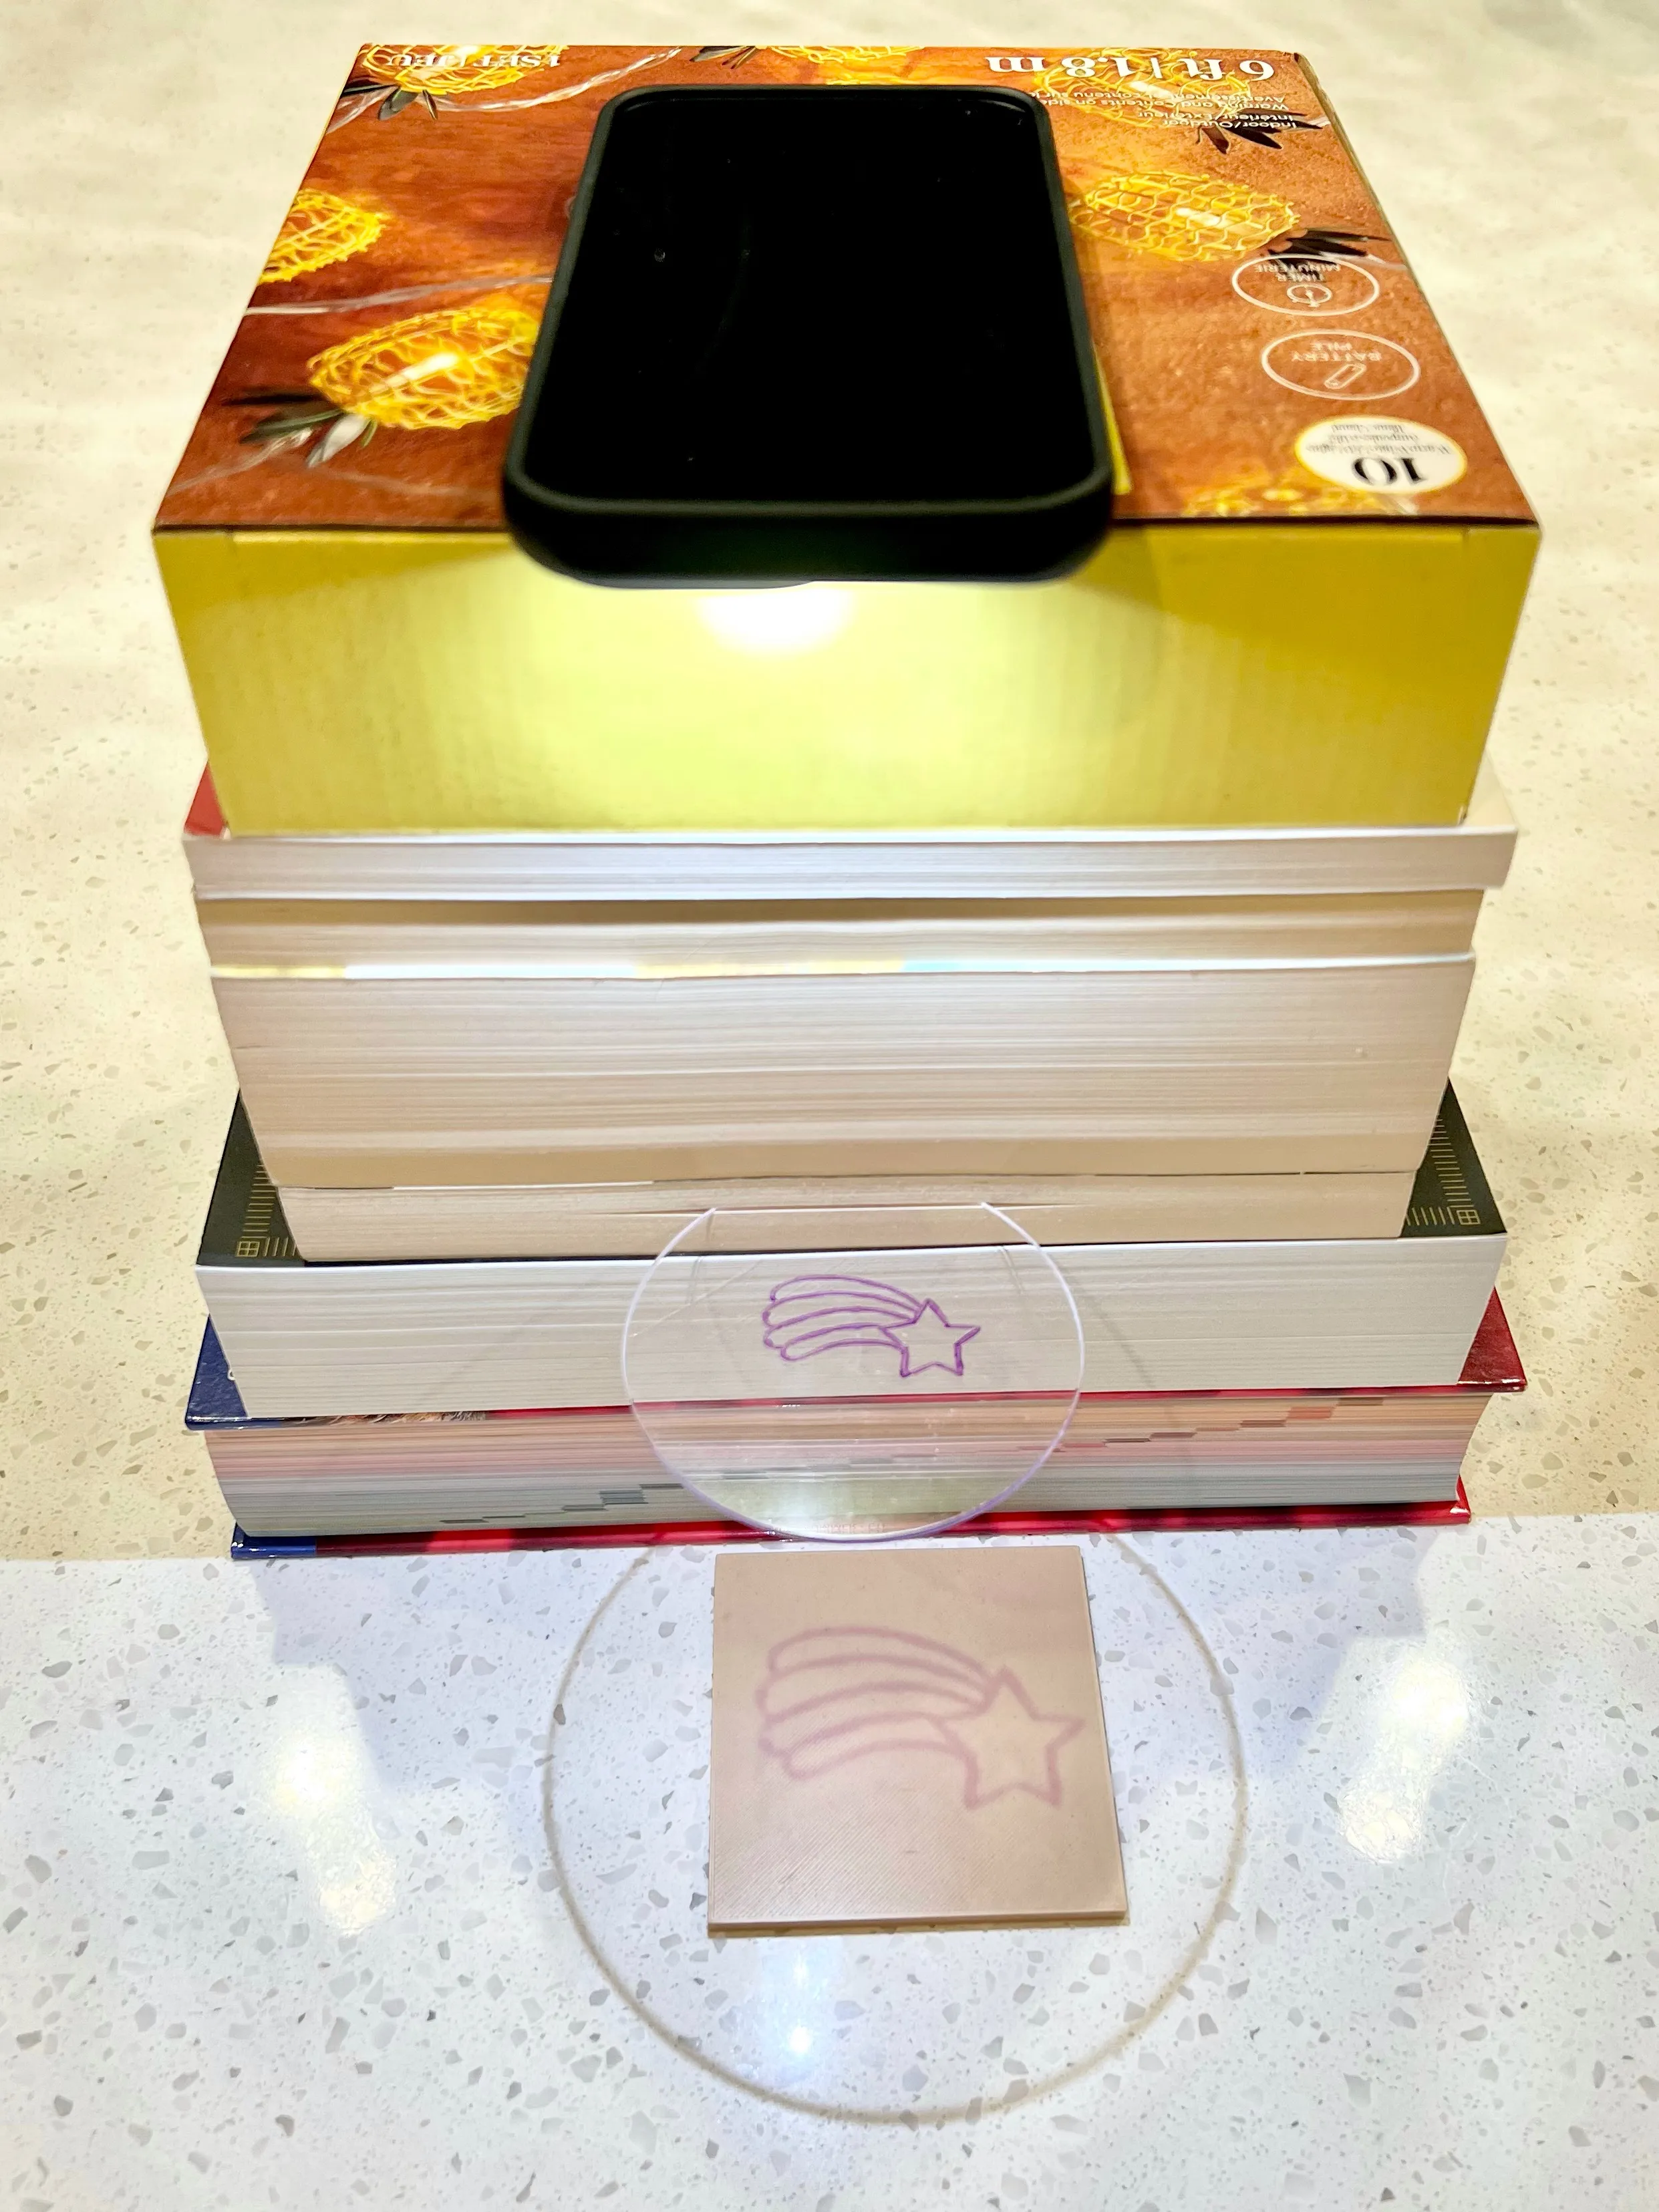
Place the acrylic circle under the light and slide it between the book pages at the height that projects the design onto the cookie.
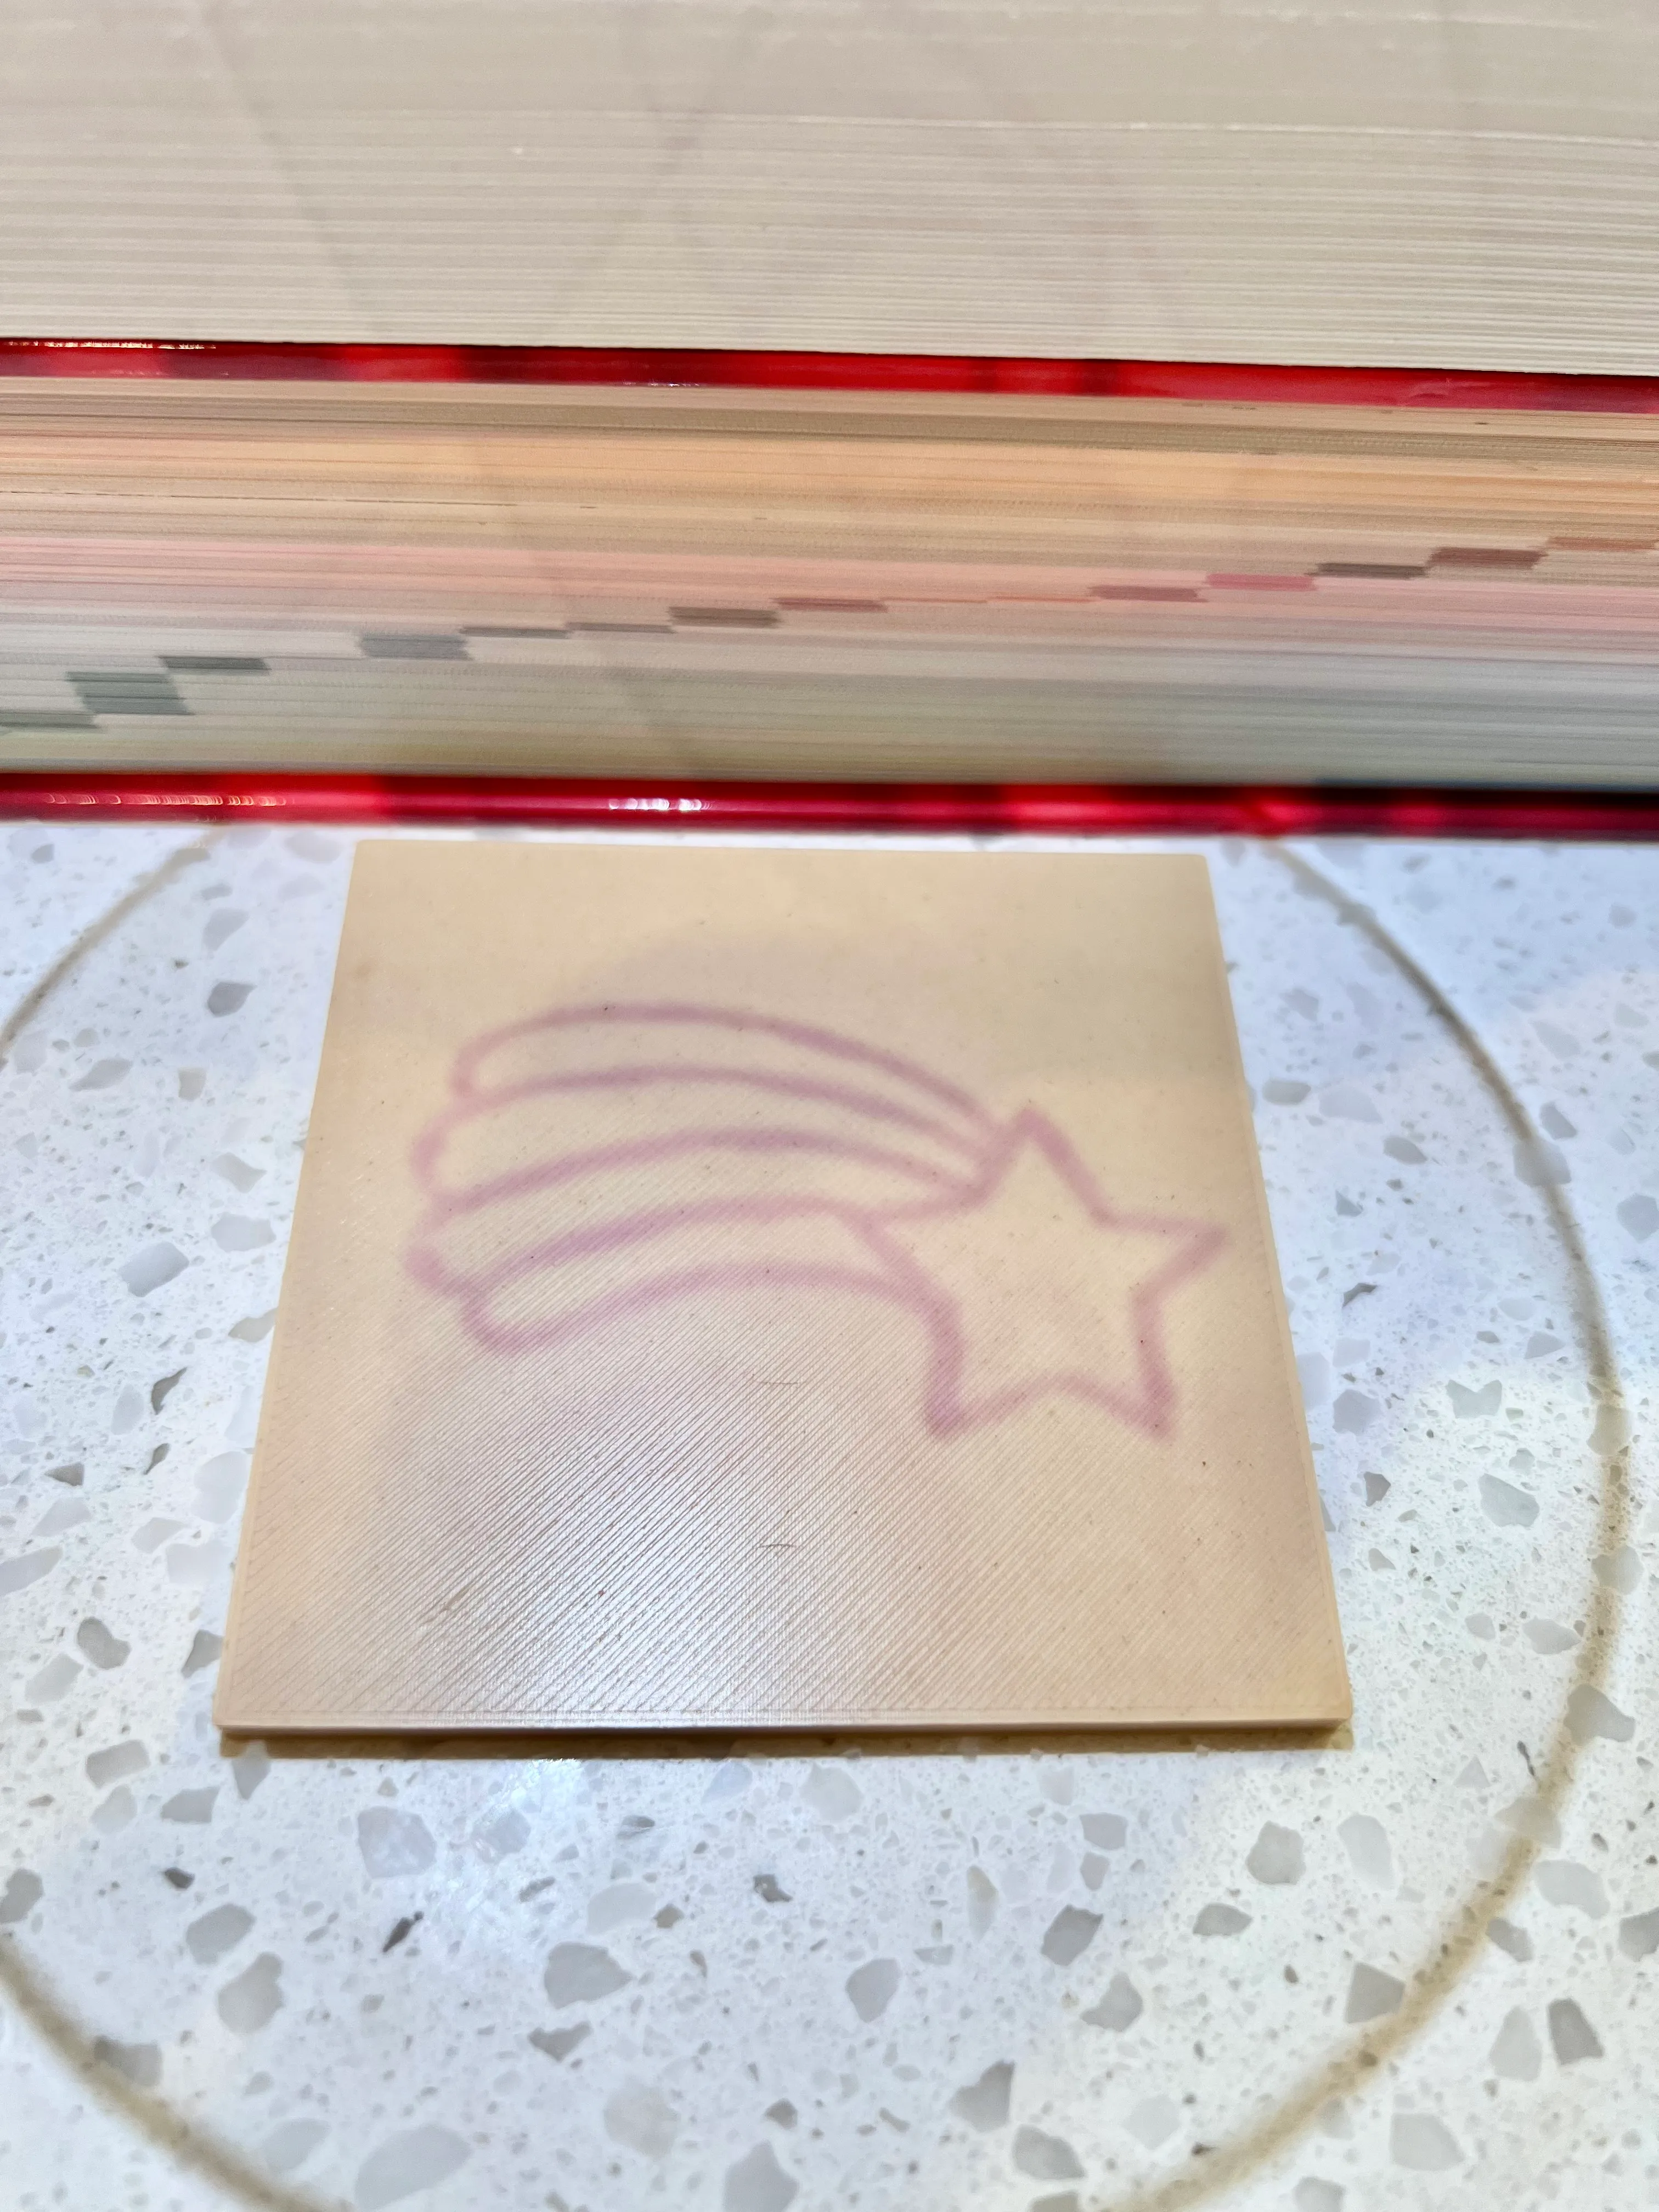
This is the final result.
Remove Sharpie
Remove the Sharpie from the acrylic with alcohol. It works great and comes off very easily.